
Blog
How to Make Paint by Numbers Look Professional: 10 Expert Tips for Gallery-Quality Results

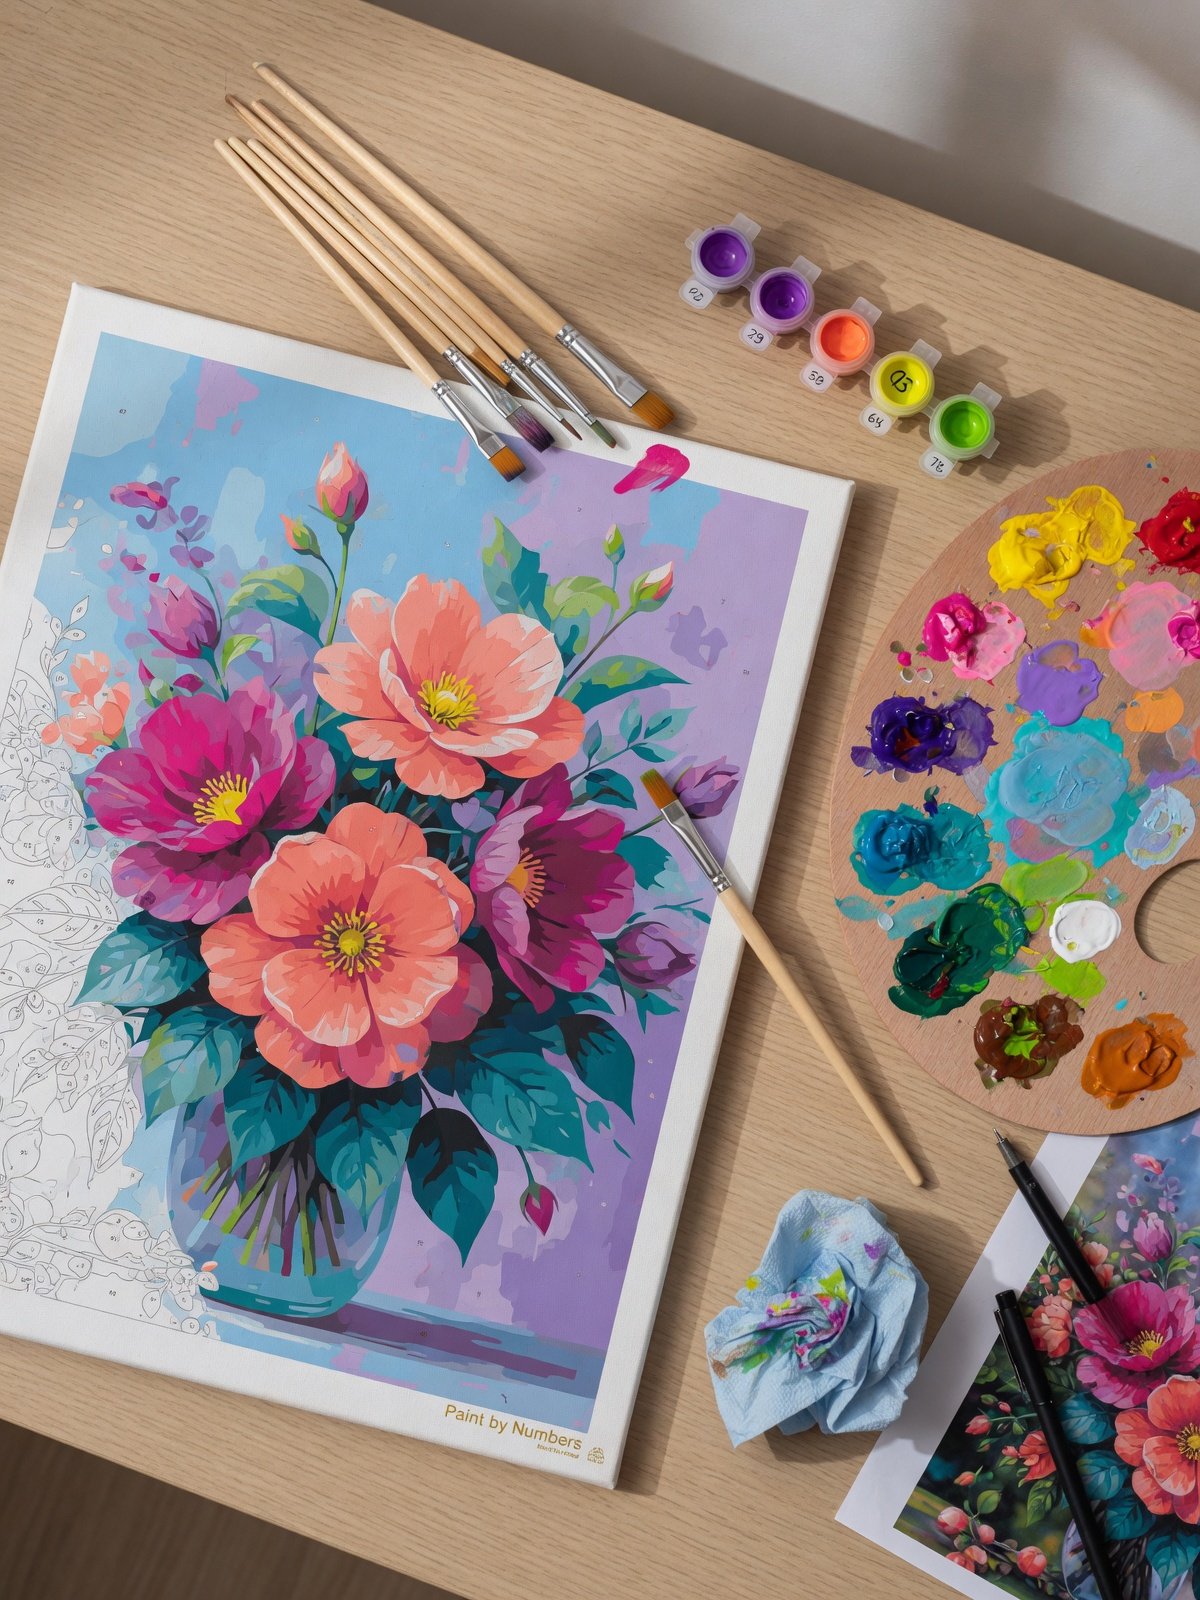
Want to know how to make paint by numbers look professional? You're not alone. Millions of hobbyists create beautiful paint by numbers artwork each year, but only a fraction achieve results that look like genuine gallery pieces. The difference isn't talent—it's technique.
Whether you're a beginner on your first canvas or an experienced painter looking to elevate your craft, this comprehensive guide reveals the professional methods that transform numbered canvases into stunning works of art.
Table of Contents
- Choose the Right Supplies
- Prepare Your Canvas
- Master Paint Consistency
- Use Proper Brush Techniques
- Work from Background to Foreground
- Blend Colors at the Edges
- Paint Over the Numbers Completely
- Add Depth with Shading
- Apply Multiple Thin Coats
- Finish with Professional Varnish
- Acrylic vs. Oil vs. Watercolor
- Common Mistakes to Avoid
- FAQ
1. Choose the Right Supplies for Professional Results
The foundation of any professional-looking paint by numbers project is quality materials. While most kits include basic supplies, upgrading your tools makes a dramatic difference in the final appearance.
Essential supply upgrades:
- Brushes: Replace basic kit brushes with high-quality synthetic brushes. A set including round brushes (sizes 0, 1, 2) and flat brushes (sizes 4, 6) covers all needs. Kolinsky sable brushes deliver the smoothest application for fine details.
- Paint: If the included acrylic paint feels thin or chalky, supplement with artist-grade acrylics. Brands like Golden, Liquitex, or Winsor & Newton offer superior pigment load and color vibrancy.
- Palette: Use a wet palette to keep paints workable longer, or a ceramic palette for easy mixing. Avoid paper palettes that absorb moisture.
- Lighting: A daylight LED lamp (5000K color temperature) reveals true colors and helps you spot missed spots and uneven coverage.
- Magnifier: For small-numbered sections, a magnifying visor or desk magnifier prevents accidental painting outside the lines.
💡 Pro Tip: The $30 Upgrade That Changes Everything
Investing in just one quality detail brush (size 00) transforms how precisely you can paint small numbered sections. Pair this with artist-grade paint in problematic colors, and you'll immediately notice a professional difference in clarity and color accuracy.
2. Prepare Your Canvas for Professional Painting
Canvas preparation is the secret step most beginners skip—and the reason their results look amateur. A properly prepared surface ensures smooth paint application, vibrant colors, and long-lasting results.
Step-by-step canvas preparation:
- Stretch the canvas tightly over the wooden frame. Use canvas clips or push pins along the edges to remove wrinkles and sagging. A taut surface prevents paint pooling and uneven texture.
- Apply a thin gesso coat if the canvas feels rough or absorbent. Let it dry completely (2-4 hours) before painting. Gesso creates a smooth, uniform surface and prevents paint from soaking unevenly.
- Set up your workspace on a flat, well-lit surface. Position your canvas on an easel at a comfortable angle (slightly tilted forward works best for visibility and control).
- Organize your paints by number or color family before you begin. Open only the paints you need for your current session to prevent drying.
3. Master Paint Consistency for Smooth Coverage
The consistency of your paint directly affects how professional your paint by numbers looks. If too thick, you'll see brush marks and texture ridges. If too thin, colors appear washed out with visible numbers underneath.
Getting the right consistency:
- Paint should flow smoothly off the brush like warm honey.
- If paint is too thick, add one drop of water or acrylic medium at a time
- If paint is too thin, let it sit uncovered for 5-10 minutes to thicken
- Use an acrylic flow improver for smoother blending between colors
- Always stir paint thoroughly before use—pigment separates during storage
4. Use Proper Brush Techniques
How you hold and move your brush determines the smoothness and precision of your final result. Professional artists use techniques that minimize brush marks and create clean, defined edges.
Professional brush techniques:
- Hold the brush further back (not near the ferrule) for lighter pressure and smoother strokes
- Use dabbing motions for small numbered areas rather than sweeping strokes
- Paint in one direction for each section to create a uniform surface
- Load the brush properly: dip only the bottom third of the bristles, then wipe excess on a paper towel
- Clean between colors: rinse brushes thoroughly and dry with a cloth to prevent muddy mixing
5. Work from Background to Foreground
The order in which you paint sections greatly affects the professional quality of your finished piece. Following a strategic sequence prevents smudging, maintains clean edges, and allows better color blending.
Recommended painting order:
- Paint the largest background sections first
- Move to medium-sized areas
- Work on detailed foreground elements last
- Paint adjacent numbers in sequence when possible (to keep edges wet for blending)
- Save white and very light colors for last (they show dark smudges easily)
6. Blend Colors at the Edges for Seamless Transitions
The hallmark of professional-looking paint by numbers is seamless color transitions. Instead of hard lines between numbered sections, subtle blending creates depth and a natural appearance that mimics traditional painting.
Blending techniques for professional results:
- While both adjacent colors are still slightly wet, use a clean, dry brush to gently feather the boundary between them
- Apply the lighter color slightly into the darker section and vice versa
- Use a soft blending brush or even a cotton swab for very small transitions
- For a smoother blend, lightly mist the edge with water before blending
- Practice on the kit's test strip before working on your actual canvas
🎨 Advanced Blending Secret
For ultra-smooth color transitions, try the "wet-on-wet" technique: lightly mist the canvas area with water using a spray bottle (from 12 inches away), then apply paint while the surface is slightly damp. This allows colors to naturally blend at the edges, eliminating hard lines.
7. Paint Over the Numbers Completely
Visible numbers under paint are the most common sign of amateur paint by numbers. Achieving full coverage while keeping color integrity requires technique and patience.
How to cover numbers effectively:
- Apply the first coat in one direction, covering the entire numbered section
- Let the first coat dry completely (15-30 minutes for acrylics)
- Apply a second coat in the perpendicular direction for full coverage
- If numbers are still visible after two coats, use a more opaque paint or add a tiny amount of titanium white to increase coverage
- For dark numbers on light paint areas, touch up with a fine detail brush after the main coat dries
8. Add Depth with Shading and Highlights
This advanced technique separates professional-quality paint by numbers from standard kit results. Adding subtle shading and highlights beyond the numbered guide creates dimension and realism.
Simple shading techniques for beginners:
- Identify the light source in your reference image
- Add a slightly darker shade along edges opposite the light source
- Apply a lighter tint to areas directly facing the light
- Use a barely damp brush to gently blend the added shading into the base color.
- Build shading gradually—multiple light layers work better than one heavy application
9. Apply Multiple Thin Coats Instead of One Thick Layer
The most important technique for professional-looking paint by numbers is layering. Thin, even coats create a smooth, uniform surface free of brush marks, texture ridges, and uneven color.
The professional layering method:
- Apply the first thin coat, focusing on coverage rather than opacity
- Allow to dry completely (30-60 minutes for acrylics)
- Lightly sand rough spots with fine-grit sandpaper (400+ grit).
- Wipe away dust with a soft, dry cloth
- Apply the second thin coat for full opacity and smooth finish
- Repeat for a third coat if needed on problematic areas
10. Finish with Professional Varnish
Proper varnish application is the final step that elevates your paint by numbers from hobby craft to professional artwork. Varnish protects your painting, enhances colors, and creates a unified surface appearance.
Varnish types and their effects:
| Varnish Type | Finish | Best For | Drying Time |
|---|---|---|---|
| Gloss | Shiny, reflective | Vibrant colors, landscapes | 2-4 hours |
| Matte | Non-reflective, flat | Oil-painting look, reducing glare | 1-2 hours |
| Satin | Semi-gloss | General purpose, balanced look | 2-3 hours |
| UV Protective | Various | Artwork displayed in sunlight | 3-5 hours |
Application tips:
- Wait at least 48 hours after painting before varnishing.
- Apply in a dust-free environment with good ventilation
- Use a wide, soft varnish brush or spray varnish for even application.
- Apply 2-3 thin coats, allowing each to dry fully before the next.
- Brush in one direction only to minimize streaks.
✅ Quick Professional Results Checklist
- ☐ Quality brushes (sizes 0, 1, 2 round + 4, 6 flat)
- ☐ Canvas stretched tightly and wrinkle-free
- ☐ Paint consistency like warm honey
- ☐ Painting order: background to foreground
- ☐ Colors blended at section edges
- ☐ Numbers fully covered (2+ coats)
- ☐ Subtle shading and highlights added
- ☐ Multiple thin coats applied
- ☐ Varnished after 48 hours drying
- ☐ Displayed in quality frame
Acrylic vs. Oil vs. Watercolor for Paint by Numbers
Choosing the right paint medium significantly impacts your painting experience and the professional quality of your finished work. Here's how the main options compare:
| Feature | Acrylic (Most Common) | Oil Paint | Watercolor |
|---|---|---|---|
| Drying Time | 15-30 minutes | Days to weeks | 5-10 minutes |
| Blendability | Moderate (with medium) | Excellent | Excellent |
| Coverage | Good (opaque) | Excellent | Transparent |
| Forgiving for Mistakes | Yes (paint over) | Yes (scrape off) | Limited |
| Professional Finish | With varnish | Natural | Requires mounting |
| Beginner Friendly | ⭐⭐⭐⭐⭐ | ⭐⭐⭐ | ⭐⭐ |
Recommendation: For most painters aiming for professional results, acrylic paint offers the best balance of ease of use, coverage, and finish quality. Oil paint by numbers kits produce beautiful results but require patience and proper ventilation.
5 Common Mistakes That Make Paint by Numbers Look Amateur
Understanding what not to do is just as important as knowing the right techniques. Avoid these common mistakes to ensure professional-quality results:
Mistake 1: Using Paint Straight from the Tube
Unmixed thick paint creates visible brush marks and uneven coverage. Always stir thoroughly and adjust consistency before applying.
Mistake 2: Painting Randomly Without a Plan
Jumping between sections leads to smudging wet paint and inconsistent coverage. Follow a systematic approach from background to foreground.
Mistake 3: Using Dirty Brushes
Residual paint on brushes muddies colors and creates streaks. Clean brushes thoroughly between color changes.
Mistake 4: Trying to Cover Numbers in One Coat
Thick, heavy paint creates texture, ridges, and may crack when dry. Two thin coats always beat one thick coat.
Mistake 5: Skipping the Varnish
Unvarnished acrylic paint appears dull and is vulnerable to dust, moisture, and UV damage. A varnish layer protects and enhances it.
Frequently Asked Questions
What type of brushes should I use for paint by numbers?
For professional-looking results, use a combination of synthetic round brushes in sizes 0, 1, and 2 for details, and flat brushes in sizes 4 and 6 for larger areas. Natural sable brushes provide the smoothest application, but high-quality synthetic brushes work well for acrylic paints. Avoid the basic brushes included in most kits—they shed bristles and don't hold paint well.
How do I make paint by numbers look like real art?
To make paint by numbers look like real art, follow these key techniques: use quality paints and brushes, blend colors at the edges between numbered sections, paint over the numbers completely with multiple thin coats, add subtle shading and highlights beyond the numbered guide, maintain consistent brush stroke direction, and finish with a professional varnish. These steps transform a kit painting into a gallery-worthy piece.
Should I paint over the numbers on a paint by numbers canvas?
Yes, painting over the numbers is essential for a professional finish. The printed numbers are designed only as placement guides and should not remain visible in your final artwork. Use opaque paint and apply two thin coats if the numbers show through after the first coat. For dark numbers under light-colored paint, a touch-up with a fine detail brush after the main coat dries ensures complete coverage.
What varnish should I use for paint by numbers?
Use an acrylic-based varnish for paint by numbers. Choose gloss varnish to enhance color vibrancy and create a shiny finish, matte varnish to eliminate shine and achieve an oil-painting appearance, or satin varnish for a balanced semi-gloss look. Apply 2-3 thin coats after your painting is completely dry—at least 48 hours for acrylic paints. Spray varnish provides the most even application for beginners.
Can I add my own details to a paint by numbers painting?
Absolutely. Many professional paint by numbers artists enhance their work by adding subtle details, blending edges beyond the numbered sections, and incorporating personal shading techniques. Start with light additions and build gradually. You can also modify colors slightly from the guide to better match your vision, as long as the overall composition remains recognizable.
How long does it take to complete a professional-quality paint by numbers?
A typical paint by numbers canvas takes 8-20 hours total, depending on size and complexity. Professional results require extra time for preparation, multiple coats, blending, drying between layers, and varnishing. Rushing the process is the most common cause of amateur-looking results. Plan for 2-3 sessions of 2-4 hours each for optimal quality.
Final Thoughts: Your Journey to Professional Paint by Numbers
Learning how to make paint by numbers look professional is a rewarding journey combining patience, technique, and creativity. The difference between an amateur-looking kit and a gallery-worthy piece is not innate talent but the application of proven methods.
Start with the fundamentals: quality supplies, proper canvas preparation, consistent paint application, and a systematic painting order. As you build confidence, add advanced techniques like color blending, shading, and professional finishing. Each painting you complete will teach you something new, and your skills will grow over time.
Remember: every professional artist started where you are now. The canvas does not judge. Enjoy the process, embrace mistakes as learning opportunities, and watch your paint by numbers transform into artwork you will be proud to display.

